Ever since I moved to Berkeley and started at 3DR, I dreamed of developing an app that ran on-board Solo that would let me see who was chillin’ on my roof deck 2,200 feet from the 3DR world HQ in Berkeley. I dreamed of, as my day was wrapping up, sending Solo to snap a picture of my roof deck, post it online, and tell me if I should head home to grill on my roof with my neighbors. After the wonderful week-long hackathon we had at 3DR in December, I finally realized that dream.
And, it wasn’t that hard. While the documentation still leaves a little bit to be desired, DroneKit Python is amazingly accessible. I have a modest background in academic computing, but little to no experience with modern software engineering. After a few days of effort, which could be shortened to a few hours for those of you reading this guide, I was able to programmatically coerce Solo into some really rich behaviors driven by the on-board computer. I have enormous confidence that anyone in the DIY Drones community, after reading this guide, could do the same.
First, some basics. Solo is unique with its programmable Linux computer on board. While other platforms, including Solo, ship with a mobile SDK, mobile development is significantly more challenging (stay tuned for my guide to 3DR Services/DroneKit Android…). The computer on board Solo ships with Python, a very simple programming language, preinstalled. This makes it very easy for rote novices like me to write software that controls Solo.
OK, how do you actually do this? Follow the steps below and frequently refer to both dev.3dr.com and python.dronekit.io. The former is the Solo development guide. It describes specifically how to get your code running on Solo and how you, as a new Solo developer, can use all of the tools 3DR has built to make your job easy. The latter is the DroneKit Python documentation. It more generally describes what you can do with DroneKit Python and how to get DroneKit running on non-Solo vehicles.
Note: This guide is written for the Mac user. I’m sure there are equivalent Windows commands for many of these steps, but it will be up to the reader to track them down.
Note: WordPress likes to shorten two hyphens “-“”-” to a dash “–“. This will obviously cause errors when copying and pasting from this site, so keep this is mind. Any time you see a dash, it likely should be replaced by two hyphens in your terminal or in your code.
Step 1: Install Python
If you don’t have Python installed on your computer, it likely makes the most sense to install using Homebrew, a package manager for OS X that makes sure all of your packages are linked properly. Installation is straightforward and full instructions can be found at brew.sh, but essentially you just need to run
ruby -e “$(curl -fsSL https://raw.githubusercontent.com/Homebrew/install/master/install)”
from any directory in your terminal.
After Homebrew is installed, run
brew install python
from any directory in your terminal. Full instructions are at http://docs.python-guide.org/en/latest/starting/install/osx/ if you have any trouble.
Note: Brew installing this version of Python is critical to your success with DroneKit. I spent a couple hours removing multiple old Python installs and relinking tools on my dad’s computer while installing DroneKit. I would highly recommend removing any old install of Python and restarting with the Homebrew tap.
Step 2: Install DroneKit Python and SITL
DroneKit Python is the actual software that will interpret your easy-to-write commands and translate them into ones and zeros that are readable by Solo. SITL, or software in the loop, is a simulated vehicle that runs inside your computer. SITL represents the only safe way to test your code (software bugs become a lot more problematic when you’re programming the behavior of a real, physical object). I’m sure everyone on DIY Drones has heard of SITL at one time or another, but until very recently (today!) it was fairly difficult to set up.
Note: Please ignore other documentation floating around the internet regarding installing SITL on a virtual machine and follow these instructions.
Both DroneKit Python and SITL are installed using the pip command. Pip is an install command built into Python, which you just installed using Homebrew, that brings amazing software to your from the command line.
From any directory, run
pip install dronekit
to install DroneKit. Remember that, because pip is a Python command, there is no reason to specific as to which DroneKit we are installing.
Next, also from any directory, run
pip install dronekit-sitl
to install SITL.
Step 3: Run SITL
This step is fairly opaque in most of the documentation online, but it actually quite straightforward. SITL is a virtual computer running on your computer. Try it. Run
dronekit-sitl copter
from any directory. You will see the command return something like
Started model quad at -35.363261,149.165230,584,353 at speed 1.0
bind port 5760 for 0
Starting sketch ‘ArduCopter’
Serial port 0 on TCP port 5760
Starting SITL input
Waiting for connection ….
Running this is equivalent to turning on IRIS or Solo in your front yard and without connecting to a GCS. Your simulated vehicle is sitting inside your computer at a model airport in Australia, which I imagine is Tridge’s local airfield, sending out a TCP signal from port 5760 waiting for a GCS to connect. If you decide you’d prefer that your simulated vehicle take off in Berkeley, rather than Australia, run
dronekit-sitl copter –home=37.873894,-122.302141,584,353
See what happened? Other SITL options can be accessed by running
dronekit-sitl –help
or
dronekit-sitl copter –help
You’ll notice that you can simulate a plane or a rover and change various simulated vehicle settings.
Step 4: Connect SITL to arbitrary ground control stations
DroneKit Python contains a connect command, but to actually see how your simulated copter responds to your code, you will need to connect a GCS. This is done through MAVProxy, which as best as I can tell is both a text based GCS and a way to plumb mavlink messages from SITL or a real copter to other GCSs.
Unfortunately, installing MAVProxy is not as straightforward as the rest of this guide. The best instructions are at http://dronecode.github.io/MAVProxy/html/getting_started/download_and_installation.html#mac, but to keep this guide linear I will reproduce them. Run
brew tap homebrew/science
brew install wxmac wxpython opencv
from any directory in the terminal. The first command taps a repository that is not normally indexed in Homebrew. The second command installs wxMac, which is total mystery to me, wxPython, which is also a mystery to me, and OpenCV, which is an amazing open source computer vision project from which, I believe, sprang Pix4D and Agisoft.
Next, run
sudo pip uninstall python-dateutil
sudo pip install numpy pyparsing
sudo pip install MAVProxy
The sudo part means that you are running the command as an administrator on your computer and the pip command is our old friend from before.
Now MAVProxy should be installed and you are ready to start playing with your virtual copter. Start up SITL, if you closed the terminal window, by running
dronekit-sitl copter –home=37.873894,-122.302141,584,353
Then open a new terminal window and run
mavproxy.py –master=tcp:127.0.0.1:5760 –out=udpout:10.1.49.130:14550 –out=udpout:127.0.0.1:14550 –out=udpout:127.0.0.1:14549
Notice that your SITL window has now bound to the MAVProxy master. This is because we’ve pointed MAVProxy to listen to MAVLink messages over TCP at local IP address (127.0.0.1, although 0.0.0.0 will work as well) using port 5760, all of which was specified when you initially booted up SITL. The three –out items give me three sockets to which I can connect GCSs.
You can now use MAVProxy to control your virtual vehicle (or your real vehicle if you choose to do so, to connect MAVProxy to a real vehicle connect your computer to Solo’s WiFi and replace tcp:127.0.0.1:5760 with udpin:0.0.0.0:14550). Try typing
mode guided
arm throttle
takeoff 10
into the terminal window running MAVProxy. You’ll notice your virtual vehicle will switch modes, arm itself, and takeoff. However, as interesting as it is to control a virtual vehicle from the command line, we are here to write software to control Solo’s behavior and need a visual way to monitor your virtual Solo’s behavior.
This is where the sockets come in. The first refers to my tablet running Tower, which I can use to both monitor and control my instance of SITL. The 3DR network assigned IP address 10.1.49.130 to my Android tablet, which I determined by navigating to the advanced WiFi settings menu, and Tower is set up to listen for a vehicle on port 14550. Now, when I connect my tablet to the same WiFi network on which I am running SITL, I can see my virtual copter parked near the Berkeley office and can control it just like a real copter. To connect your Android tablet running Tower, you should replace my IP address with your own.
The second will be used for running the DroneKit Python examples. We need a socket free for DroneKit’s connect command to bind to.
The third is an extra for Tower-Web, a nice web app that let’s you track the status of your real or virtual vehicle. This is nice because it lets you debug your DroneKit Python applications without an Android tablet handy, but this step is totally optional and redundant if you plan on using your tablet running Tower to visualize your virtual Solo’s behavior. To install Tower-Web, simply run
sudo -H pip install -UI git+https://github.com/dronekit/tower-web.git
from the terminal. Once the installation completes, run
tower udpin:127.0.0.1:14549
and you will bind the Tower-Web backend to your instance of SITL. Point your favorite web browser to http://localhost:24403/ and you should see your virtual vehicle flying around on your screen.
To quickly review, you now should have a virtual vehicle running on your computer that you can control using MAVProxy running in the terminal, Tower running on your Android device, or Tower-Web (sort of) in your web browser. Whew!
Step 5: Run the DroneKit Python example apps
Great! Now you’ve made it this far and are ready to start having some real fun. Let’s run the examples.
The easiest way to get the examples is using Git, which is a great and widespread tool for sharing and code on the internet. If you don’t have Git installed on your computer, we can return to our favorite program Homebrew and run
brew install git
from the terminal. Once Git is installed, navigate to the directory where you’d like the examples to be stored and run
git clone http://github.com/dronekit/dronekit-python.git
The DroneKit Python examples will download into the folder from which you ran this command. Navigate to the Vehicle State example by typing
cd dronekit-python/examples/vehicle_state/
and run
python vehicle_state.py –connect 127.0.0.1:14550
If you get an error regarding the gimbal status, remember that your simulated copter does not have a gimbal unless you specify one using the –gimbal command.
dronekit-sitl copter –gimbal
Note that we now have used all three of the sockets generated by MAVProxy (if you’d like to prove this to yourself, try connecting to 14550 with both DroneKit and Tower-Web) and the Vehicle State application will run. I’ll leave it to the DroneKit Python documentation to explain exactly what this program does, but needless to say you’ve run your first application on your virtual drone and are well on your way to writing your own.
I’d recommend running the rest of the examples, reading the documentation, and getting a rough sense of what they do. By the end of this, you should have a pretty good idea of what kinds of functionality is built into DroneKit Python and how you might write an application to control your real drone.
Step 6: Run the DroneKit Python example apps on Solo
SITL is fun and all, but we don’t read posts on DIY Drones to learn about controlling virtual vehicles. We want to control the real thing. Let’s try running some of these examples on Solo.
Simple Go To is a great one to start with. All of the locations are in Australia, so, if you don’t live with Tridge, open up simple_goto.py with a text editor (I like Sublime Text) and edit the lattituide, longitrude, and alitude in points one and two (LocationGlobalRelative(your lat, your lon, your alt). Next, test your changes in SITL and make sure you simulated Solo is behaving as you anticipated.
Once you are satisfied with your code, bring Solo out to your airfield, connect your computer to Solo’s WiFi network, and spin up MAVProxy to plumb the whole system together. For the lazy, the terminal command is
mavproxy.py –master=udpin:0.0.0.0:14550 –out=udpout:10.1.49.130:14550 –out=udpout:127.0.0.1:14550 –out=udpout:127.0.0.1:14549
You now can run
python simple_goto.py –connect 127.0.0.1:14550
from the Simple Go To’s directory and Solo will execute the Python commands and perform the mission. Pretty cool!
However, the observant reader might catch that in this case the code is actually running on your computer, not the computer on board Solo. To move the code and all of its dependencies on to Solo, we have to return to the Solo Development Guide and take advantage of some neat tools that the engineers at 3DR have written.
First, let’s install the Solo command line interface using pip
pip install -UI git+https://github.com/3drobotics/solo-cli
This CLI lets you run a number of useful commands from the terminal. For example, if you’d like to connect your computer to both the internet and Solo over WiFi, which is very useful for development, run
solo wifi –name=network name –password=network password
To run your example code on Solo, run
solo script pack
from the directory containing simple_goto.py. This command will prepare a package containing your Python application and all of its dependencies on your computer. To install and run (note that this is a single step) this package on Solo, connect to Solo’s WiFi network and run
solo script run simple_goto.py
Solo will takeoff and execute its mission based solely on the code you loaded onto its companion computer. You can verify that this by turning off your controller and seeing Solo execute its mission without an external signal in the loop.
Step 7: Controlling the camera and gimbal
Now that you’ve run the examples both in SITL and on Solo and spent some time understanding the various DroneKit Python functions, you are essentially ready to program your own Python-based GCS. It’s that easy!
However, one of the most amazing pieces of Solo is the fully controllable gimbal and camera. Simple camera functions haven’t quite made it into DroneKit Python and we at 3DR are still working to integrate all of the Solo-specific MAVLink messages into our SDK, but, because it’s close to Christmas and generosity is in the air, I will post some shortcuts here.
Both the gimbal and GoPro are controlled by MAVLink messages and DroneKit Python is backwards compatible with PyMAVLink, a great way to send arbitrary MAVLink messages to Solo. The general format of a MAVLink message sent through PyMAVLink is somewhat complicated. An example of a yaw message is below.
msg = vehicle.message_factory.command_long_encode(
0, 0, # target system, target component
mavutil.mavlink.MAV_CMD_CONDITION_YAW, #command
0, #confirmation
90, # param 1, yaw in degrees
45, # param 2, yaw speed deg/s
1, # param 3, direction -1 ccw, 1 cw
0, # param 4, relative offset 1, absolute angle 0
0, 0, 0) # param 5 ~ 7 not used
I am no PyMAVLink expert, but, as we can see in both the comments and the MAVLink documentation for the yaw command, we use the vehicle.message_factory.command_long_encode function to pass an 11 argument message to some component. The first two arguments serve as the address of the message–0 and 0 refer to Pixhawk, which is doing the yawing. The third argument refers to what MAVLink message you’d like to send. Feel free to experiment with different messages. The fourth does nothing and the fifth through eleventh refer to the up to seven commands that can be passed through any MAVLink message. For this particular yaw command, only four are used–the amount of yaw requested, the yaw speed, the direction, and whether yaw should be absolute or relative to the position of the copter before the yaw was initialized. Now you’ve had the opportunity to look under the hood at DroneKit.
We will use a similar strategy to control the camera and the gimbal with one caveat–mavlink-solo-master is still private. We at 3DR are working hard to clean everything up for public consumption so these commands will work on board Solo, but not on your computer or in SITL.
To switch GoPro from video to photo mode, try the code below.
msg = vehicle.message_factory.gopro_set_request_encode(MAVLINK_GIMBAL_SYSTEM_ID, MAVLINK_GIMBAL_COMPONENT_ID, mavutil.mavlink.GOPRO_COMMAND_CAPTURE_MODE, (1, 0, 0, 0))
vehicle.send_mavlink(msg)
vehicle.flush()
Notice we are now using the gopro_set_request_encode variable rather than the command_long_encode, but the general format is the same. Here the system and component IDs, which were 0 and 0 for Pixhawk, are declared as variables rather than numbers. You can either include MAVLINK_GIMBAL_SYSTEM_ID = 1 and
MAVLINK_GIMBAL_COMPONENT_ID = 154 as constants in the start of your code, or just substitute these numbers for the text. Notice the MAVLink message is GOPRO_COMMAND_CAPTURE mode, which is not found on the list of Arducopter MAVLink messages. This is because it is found in the in the still private mavlink-solo-master and documentation has not yet been written. That said, I can tell you right now that switching the first bit in the message from a 1 to a 0 will switch the camera from photo to video mode. Cool!
To take a picture, I used the code below.
def take_a_pic():
msg = vehicle.message_factory.gopro_set_request_encode(MAVLINK_GIMBAL_SYSTEM_ID, MAVLINK_GIMBAL_COMPONENT_ID, mavutil.mavlink.GOPRO_COMMAND_SHUTTER, (1, 0, 0, 0))
vehicle.send_mavlink(msg)
vehicle.flush()
Notice that this time I wrote a definition, so each time I want to take a picture in my code I can simply write take_a_pic().
To control gimbal, I wrote an eponymous definition, nadir_point.
def nadir_point():
vehicle.flush()
msg = vehicle.message_factory.mount_configure_encode(
0, 1, # target system, target component
mavutil.mavlink.MAV_MOUNT_MODE_MAVLINK_TARGETING, #mount_mode
1, # stabilize roll
1, # stabilize pitch
1, # stabilize yaw
)
vehicle.send_mavlink(msg)
vehicle.flush()
msg = vehicle.message_factory.mount_control_encode(
0, 1, # target system, target component
-90*100, # pitch is in centidegrees
0.0, # roll
0, # yaw is in centidegrees
0 # save position
)
vehicle.send_mavlink(msg)
vehicle.flush()
This time it takes two MAVLink messages to get the job done, but it still does the trick. Now whenever I’d like to point the gimbal toward nadir, I simply call nadir_point(). If I wanted to be even more clever, I would write a function called point(XX) whose argument appeared in place of -90 in the pitch field so the function could be used to point the gimbal wherever I wanted.
You should now have all of the tools in your toolbox to write your own WHOZCHILLIN app.
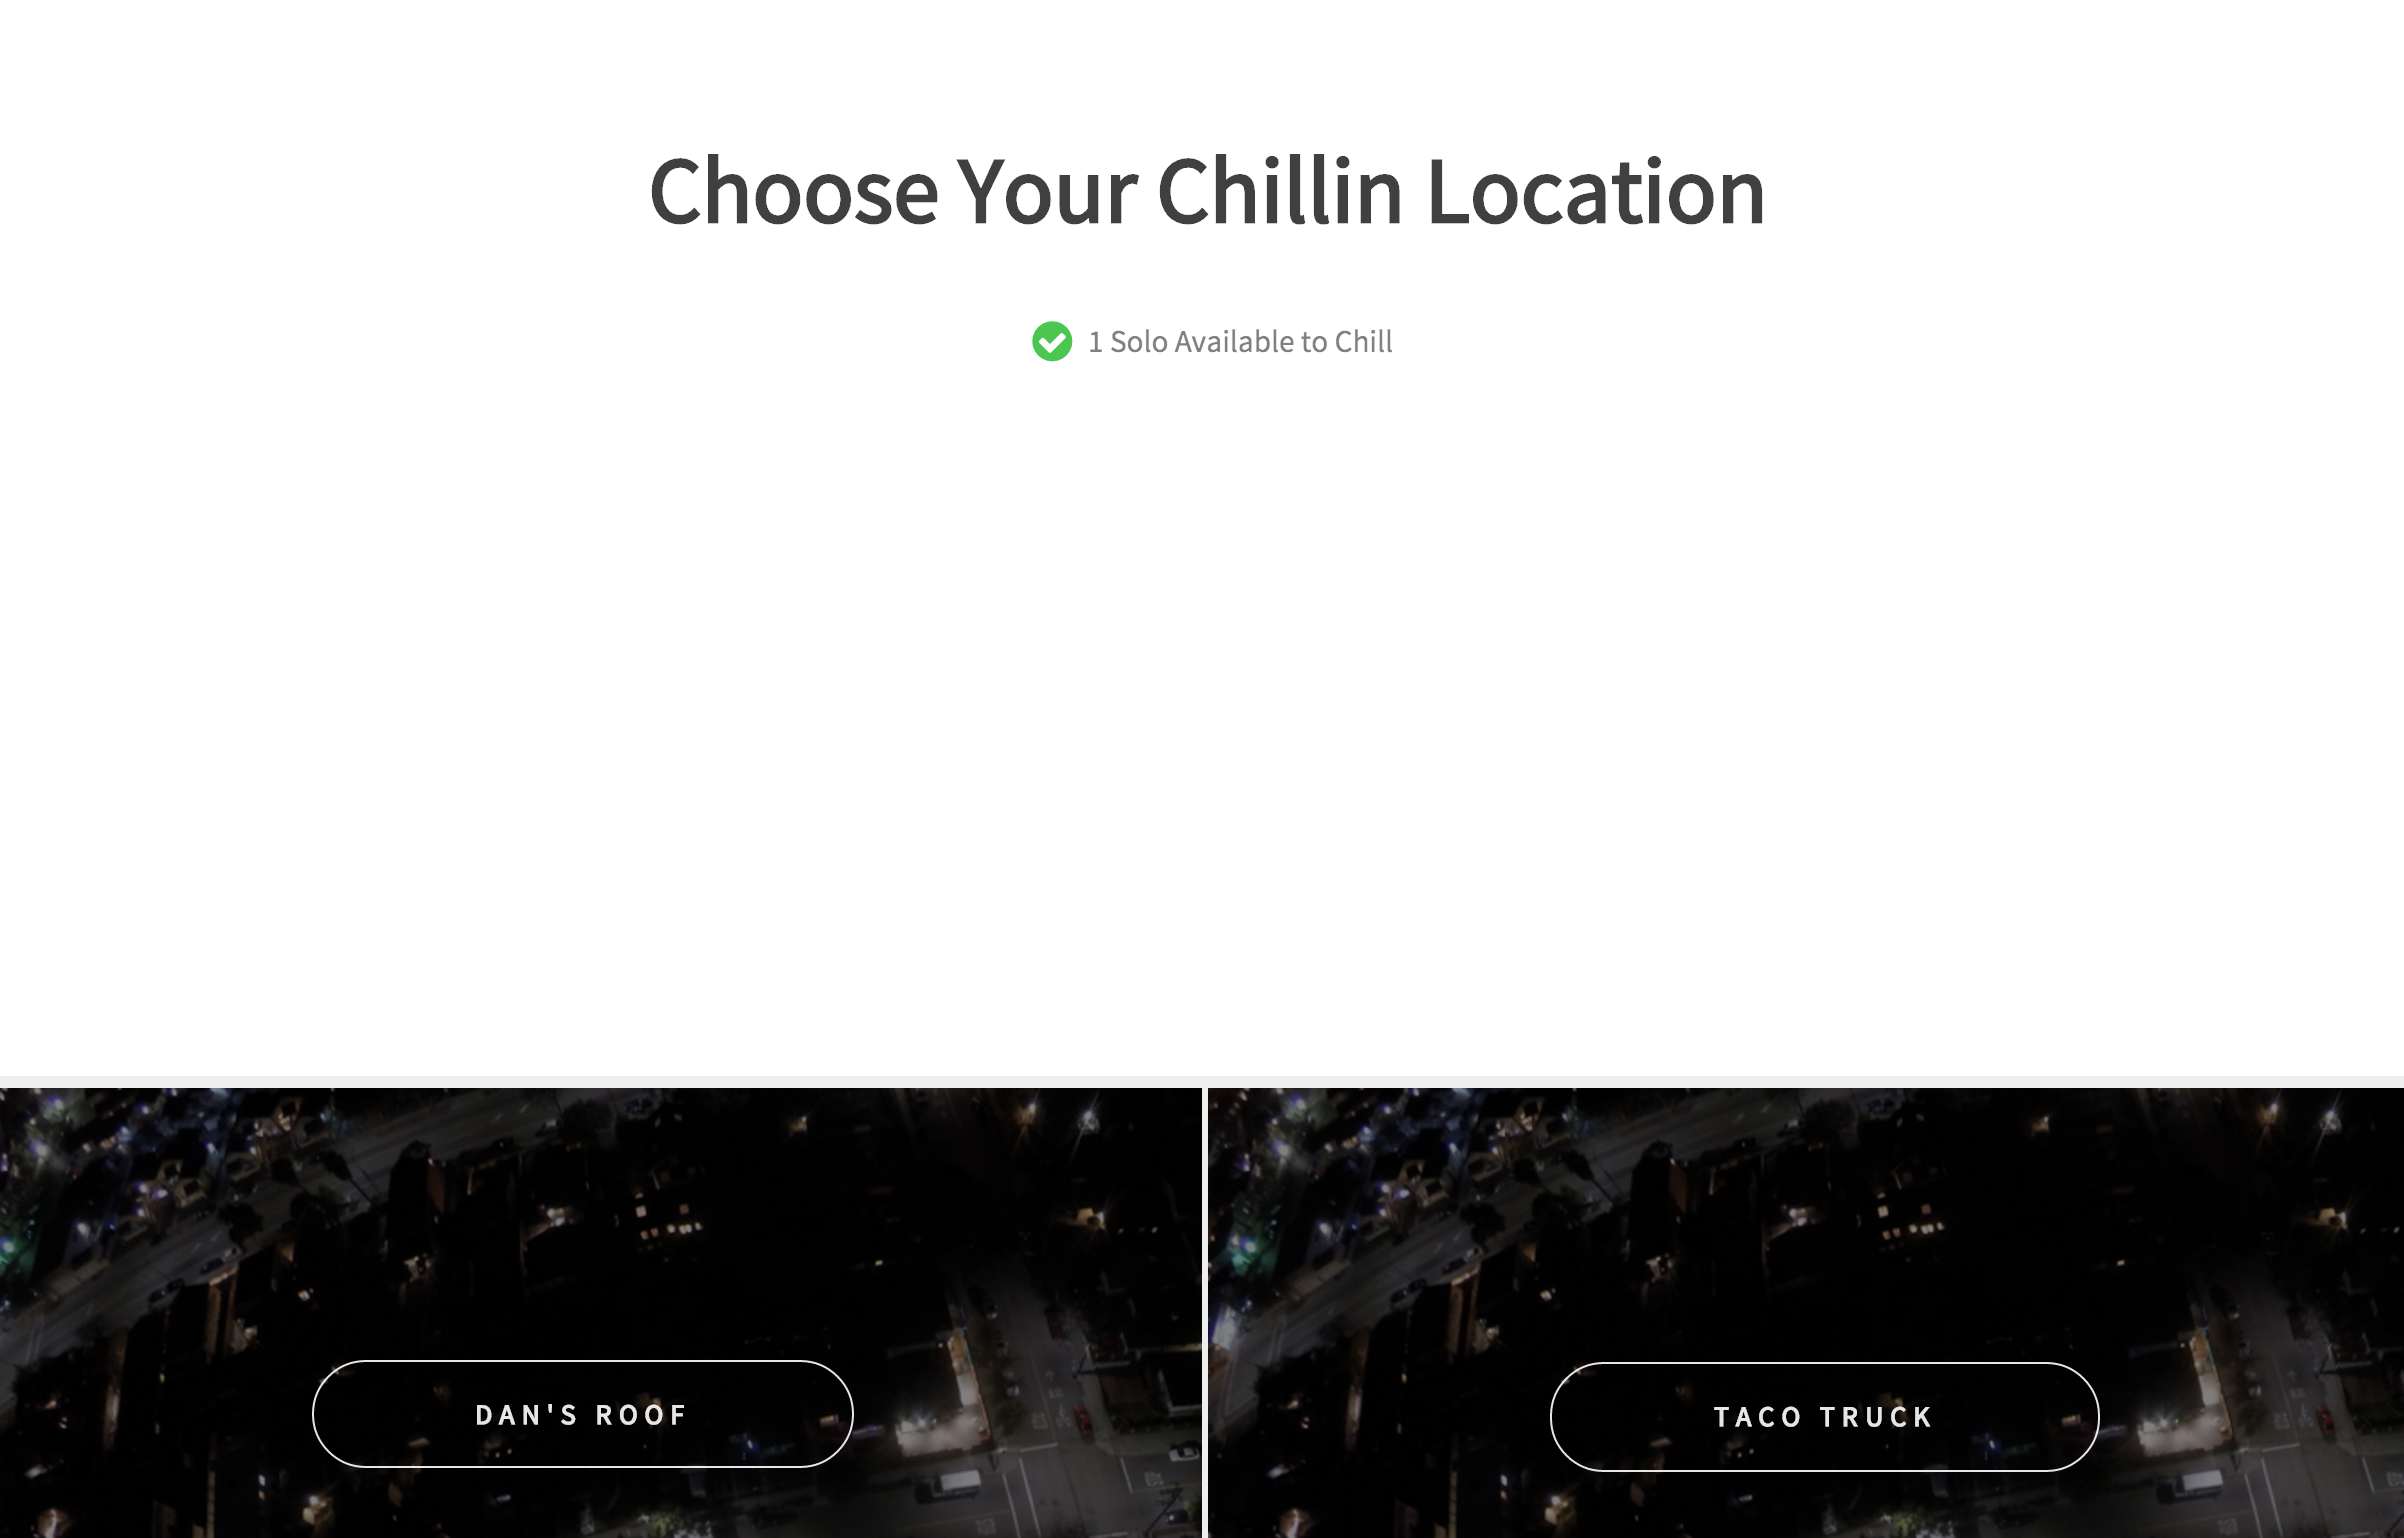
Step 8: WHOZ CHILLIN
You can download my WHOZ CHILLIN code here (change extension from .txt to .py to execute). You can see that the user gets several different CHILL options. Go ahead and replace my GPS locations with your own and give it a rip. Note that the CHILLIN app turns off the R/C failsafes. Test your code in SITL extensively before you even consider doing this.
Step 9: Future directions
But wait, you say. I promised that WHOZ CHILLIN would let me open a web browser and see an image of who was chillin’ on my roof. The code here just takes a picture that GoPro saves to the SD card that I have to pull out to take a look at. This is way too painful of a workflow to really be CHILLIN. You are right, but this is enough for now.
Instructions for grabbing stills from the video feed, setting up a Python server, and posting the result online will be contained in the next installment of Idiot’s Guide to DK-Python and soon you will be able to complete your journey to WHOZ CHILLIN.
Until next time…